Hiking log
- Elevation 329m
- When to climb Year-round
- A 3-hour hike from station to ropeway (or 4.5 hours with detours and temple grounds).
Mountain stats
2 hours by train from Tokyo station to Hamakanaya station. The trailhead is a short walk from the station.
Paid parking at the ropeway carpark (600 yen) or near the trailhead (500 yen).
Mt Nokogiri (鋸山, nokogiri-yama) is the most famous hike in Chiba prefecture - not that there’s much competition as it’s not really known as a hiking destination. Nonetheless, it’s a great beginner-friendly hike with convenient ropeway access to the peak, plus a lot of other things to see including the largest stone-carved statue of Buddha in Japan.
The hike starts at Hama-Kanaya Station, a tiny rural station that must get the majority of its traffic thanks to Mt Nokogiri.

As you exit the station, continue straight down the road and then take a left. You should notice signs pointing out the direction to the trailhead.

A short distance from the station you’ll pass the Saso Butcher shop which sells meat but also specialises in croquettes (or “korokke” in Japanese) for all the hungry hikers passing by.

Korokke are a deep-fried snack that usually have a mix of potato and ground meat as the filling. The shop here stocks quite an array of unique fillings here like squid and chashu. So it’s well-worth picking up one (or two) as a pre-hike snack.

As you continue to follow the road up to the trailhead, you’ll come to a fork in the road where you can take either the left or the middle path. I’m not too sure what the trail in the middle is like, but the left path is the “Shariki-michi” trail which has a long history to it, so I would recommend taking that one.


For the first stretch of this path though, you continue to walk along a concrete road, passing underneath a highway. You might be wondering “where is the hike?” I’ll admit I had some doubts I had chosen the correct path as well.


But eventually you’ll make it to the hiking trail proper, and there are a couple of spots with information signs pointing out the history of this trail.


Mt Nokogiri was originally a quarry and was mined as early as the 14th–15th century, up until 1985. Although in later years the way in which they mined and transported the stone changed (thanks to advances in technology), originally the stone was transported in wheelbarrows down the mountain trails by women known as “shariki”.

As you climb you can see how the path is well-worn in places from their carts.


The hike up to the main tourist area of Mt Nokogiri is not too long and can be done in 2 hours, but there are a couple of detours and points of interest you can check out along the way, so I’d give yourself up to 3 hours.

The first point of interest is the “Cat Quarry” which has a tiny heart carved out of the wall. Apparently an art installation of sorts that was done in recent years. There’s also a carving of a cat on the wall somewhere around here, but I completely missed it.


Speaking of art installations, there are also these randomly painted bobbleheads located at various points along the route.

The next point of interest is a little pond, and these huge quarry walls.


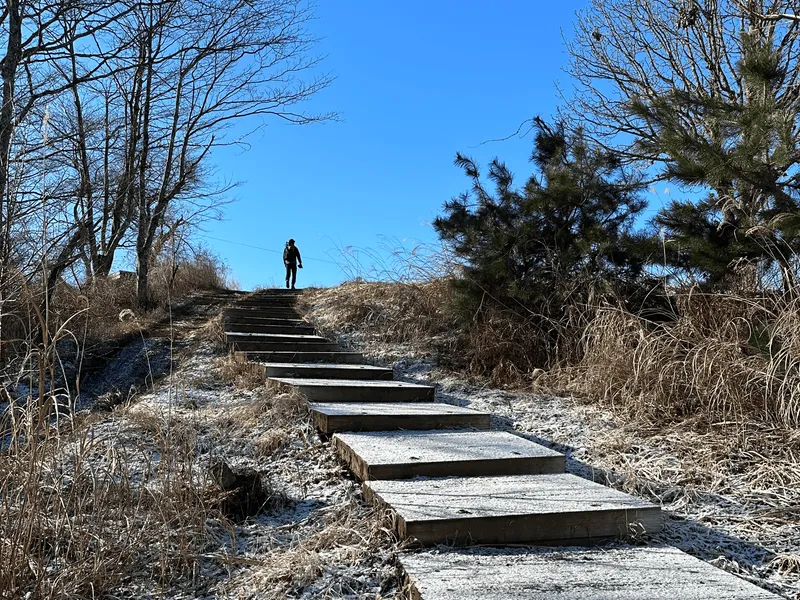
If you’re short on time and want to head straight for the main tourist sights and ropeway, you’ll want to take the wooden stairs near here.

Otherwise the next portion of the hike is an out-and-back to the official peak of Mt Nokogiri, and the Tokyo Bay viewpoint.


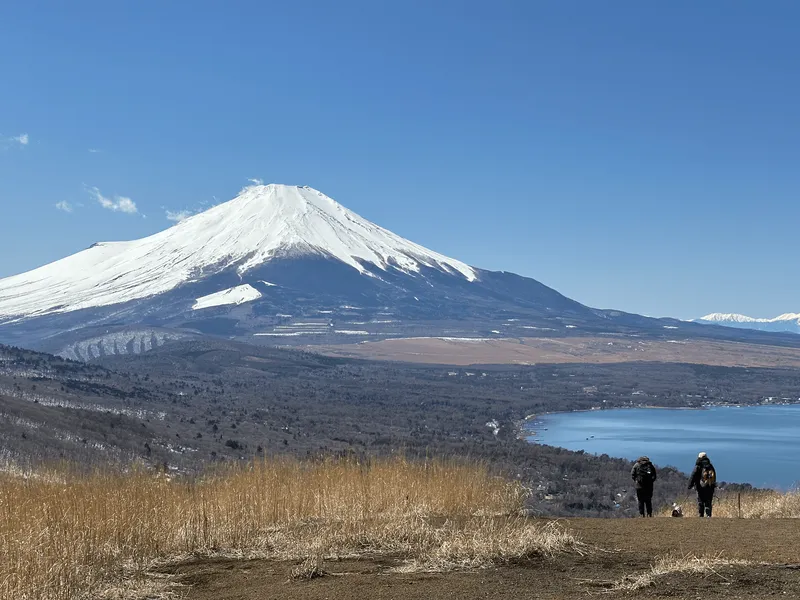
If you’re wondering whether this detour is worth it, I recommend at least heading for the Tokyo Bay Viewpoint (東京湾展望台). You can get some amazing views of the port and of Mt Fuji, if you are lucky.


Once you’ve visited the viewpoint, you can decide whether you want to continue on to visit the official peak of Mt Nokogiri. There will be signs pointing the way with 頂上 which means “peak”.


It’s debateable whether it’s worth visiting Mt Nokogiri’s official peak. I would recommend it if you are a peak-bagger, but otherwise it’s a fairly boring 40-minute walk there and back (and the views there aren’t as good either).


After visiting the bay viewpoint and optionally the peak, then you can head back down the steep stairs, and back down to the quarry with the wooden staircase.


With another steep climb, you’ll reach a much, much huger quarry.

They even left some mining equipment up here to rust, which has turned into a bit of an ad hoc display. While Mt Nokogiri has a very old mining history, it was still mined until 1985, so by then they were using pretty normal equipment.


Carved into the wall is 安全第一 which means “safety first”. The kanji carved on the wall are a bit simplified, I think especially because 第 would be pretty tough to try to carve in the rock!


And then I think below that is the name of the company that was mining here. Weirdly the writing style for that one is… not great. Maybe they added it later.
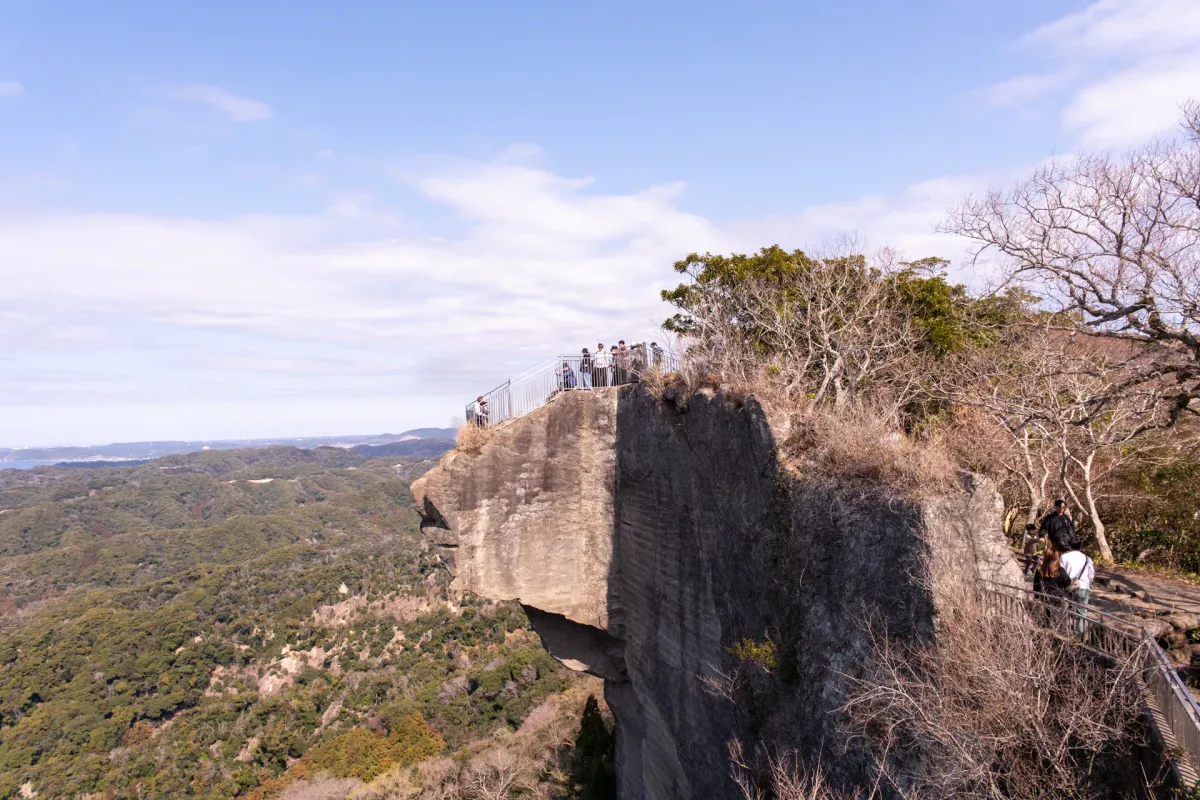
As you continue on, you’ll also get your first look at the famed “hell’s lookout”, which is the most iconic part of Mt Nokogiri.


And you’ll pass other quarried walls. It’s hard to tell from the photos, but the scale of this place is just very big, and the chunks cut out of the walls are huge.


After some steep climbs, you’ll reach the entrance to the Nihon-ji, a 1300 year old Buddhist temple (wow). It costs 700 yen to enter the complex. First up is a huge carved Kannon statue.

And then you can visit the Hell’s Lookout (Jigoku-nozoki). It’s quite steep, so peering over its edge must be quite thrilling.

We decided not to find out once we saw the line, though.

Everyone wants a photo, so the line is quite slow-moving. There is an ersatz lookout nearby which was good enough for us.

The funny thing about this lookout is you can see the hikers down below. Remember earlier in the post when I first saw the lookout in the distance? This is the reverse view of that.


Next up on the list of things to see is the 1500 arhats, or stone-carved disciples of Buddha. I expected the disciples to have a more cheerful disposition, but these guys seemed to be varying levels of grumpy and angry.


Also quite a few had their heads rolled off, which made me wonder, were their necks not sturdily constructed?

But my husband was able to educate me (admittedly my knowledge of Japanese history is rather poor) about a period in Japan where they set out to expel Buddhism and destroyed these statues.
Heading down a long staircase, and watching all the people huffing and puffing climbing up, we came to the third thing to check out in this temple - the largest stone-carved statue of Buddha in Japan, at 31m high.


As we rested our feet, we did a tiny bit of bird-watching.


And then the hardest part of the hike was heading back up all of the stairs we just descended to make it to the ropeway. Along the way we passed some more arhats. These ones looked very starved.

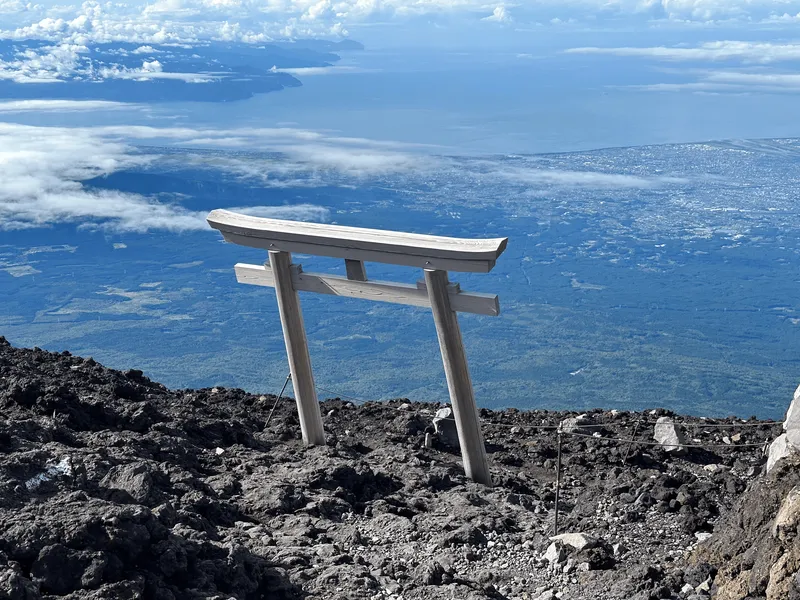
And finally, finished our hike at the “peak” of Mt Nokogiri. Although this is technically not the official peak (which we visited earlier), this has the better views and a fancier sign.

I think you can also see out to Mt Fuji from here, although by this time it was quite cloudy so we couldn’t see it at all.

After that, we descended back down via the ropeway. If you want to skip the ropeway, you can head back to the entrance of the temple complex, and then descend via a separate descent path (if you remember the fork at the road in the beginning, you can take the middle path down).

Otherwise once you’re off the ropeway, it’s a 10-minute walk back to the train station.

We drove and had parked our car in the ropeway carpark, so we were able to head straight home from there.
Since we had spotted the highway from our hike, I was curious whether you can see Mt Nokogiri while on the highway.

As we started our drive home I looked out the back - and yep, actually it’s pretty visible! I had totally missed it on the drive in.

Hiking course options
<Yamap
    yamapUpload="https://yamap.com/activities/46491450"
    yamapCourse="https://yamap.com/model-courses/15220"
    dateClimbed="2026-03-01"
    length="7.6km"
    time="4h30min"
>
The main course listed on YAMAP has you start and end at Hamakanaya station (浜金谷駅), and includes the detour out to the Tokyo Bay viewpoint (東京湾展望台) and the official peak of Mt Nokogiri. On the climb up, you will head via the Shariki-michi route, which is the left-most path when you come to the fork at the trailhead.
However you should definitely do a tour around the temple grounds, which isn’t included in the YAMAP route. This will probably add another 1 - 2 hours to your hike, and fair warning, it has a decent amount of stairs. The signage is pretty good so you should be able to do a loop via the Hell’s Lookout, then down to the stone statue of Buddha, then up to the ropeway station.
If you’re just interested in the temple itself, you can also start and end at the ropeway station.
If you wanted to use the ropeway but also tour the quarry a bit, it’s a little bit separated from the temple (and down a steep set of stairs). So once you visit the temple and then the quarry, it’s actually probably easier to just hike down to the station instead of walking back up all the stairs back to the temple. So another alternative is to take the ropeway up, and then hike back down to the station via the shariki-michi route.
Public transport access
Mt Nokogiri has good public transport access, with a train directly to the start of the trail at Hamakanaya station (浜金谷駅). If you’re coming from Tokyo station, it will take 2 hours and cost about 2000 yen one-way.
From there, you can do a 3-hour hike around Mt Nokogiri, before either descending back down to the train station on your own feet, or taking the ropeway back down. If you finish at the ropeway station, it’s just an additional 10 minute walk along the road before you get back to the train station.
Car access details
If you’re coming by car, you have two options for parking around Mt Nokogiri:
- Parking at the ropeway carpark, which costs 600 yen for one day.
- Parking at a little car park near the trailhead, which costs 500 yen. It’s probably an honour system - put the cash in the box kind of thing - so make sure you bring exact change.

We parked at the ropeway carpark, which is only for people who are going to use the ropeway. When we arrived a little before 10am on a Sunday, there were still a fair few spots available. The old man guiding cars in and out of the carpark side-eyed us when he saw us park and then attempt to leave, but we assured him we would be using it on the way back down, so he let us go.
I would have parked at the little carpark near the trailhead, but on Google Maps it looked pretty tiny and I had assumed there would be no way of getting a spot on a busy weekend. But when we passed by it at around 10:30am as we began our hike, there were still a couple of spots open so it might be worth swinging by here first.
When to hike Mt Nokogiri
Thanks to its low elevation, Mt Nokogiri can be climbed year-round. As with all the low-elevation hikes I talk about on this blog however, I would generally recommend climbing in the less-hot months as I can imagine it getting quite hot in summer! You can also double-check the latest trail conditions on YAMAP here.
Read more
Support me
📸 Thanks for reading! If you'd like to read more posts like this one, you can follow me on Instagram to stay up to date on my hiking adventures.
If you found this post useful, you can show your support by buying me a coffee - I write this blog for fun, but coffee is always appreciated! ☕
Recent posts
 hikes
hikesMt Miura-fuji and the Miura Kaigan Cherry Blossom Festival
9 Mar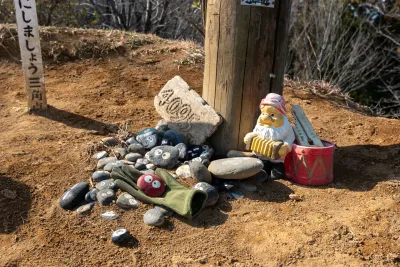 hikes
hikesAkabokko: hiking in Ome
16 Feb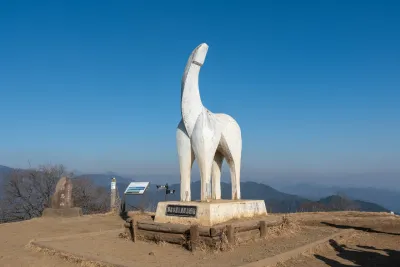 hikes
hikesMt Jinba to Mt Takao traverse hike
28 Jan
Leave a comment