Hiking log
- Elevation 2857m
- When to climb July - early October
- Two main trailheads from Mitsumata and Ichinosawa. Expect a long 10-11h day hike, or extend to an overnight hike with a stay at one of the mountain huts.
Mountain stats
Bus available to the Mitsumata trailhead on weekends in summer. The timings would make you need to do it as an overnight hike. There are taxis available as well.
4-hour drive from Tokyo, with carparks at the Mitsumata trailhead which you can expect to fill up quickly on weekends.
Mt Jonen (常念岳, jonen-dake) is one of Japan’s Hundred Famous Mountains, located on the southern side of the Japan’s North Alps. I’ll confess this mountain hadn’t really been on my radar, since my image of the mountains in the North Alps is that they are all quite a bit of a pain to access. But Mt Jonen is relatively accessible, being just under a 4 hour drive from Tokyo or 1 hour from the nearest city of Matsumoto. Although this hike can be done as a day hike, it’s a rather long one, coming in at 10-11 hours round trip, so we opted to stay overnight at the Jonen-goya mountain hut near the summit.
I hiked Mt Jonen together with a friend. We had a rather early start from Tokyo, setting off at 3:30am, but made pretty good time and arrived at the Mitsumata trailhead a little after 7:00am. The car park can get pretty hectic on the weekends (you’d have to consider arriving the night before) but we easily found a spot on a Friday morning.
About a 10 minute walk from the carpark is the trailhead proper. Here you can submit your tozan-todoke, which is a little sheet of paper you fill out with your hiking itinerary in case of emergency.

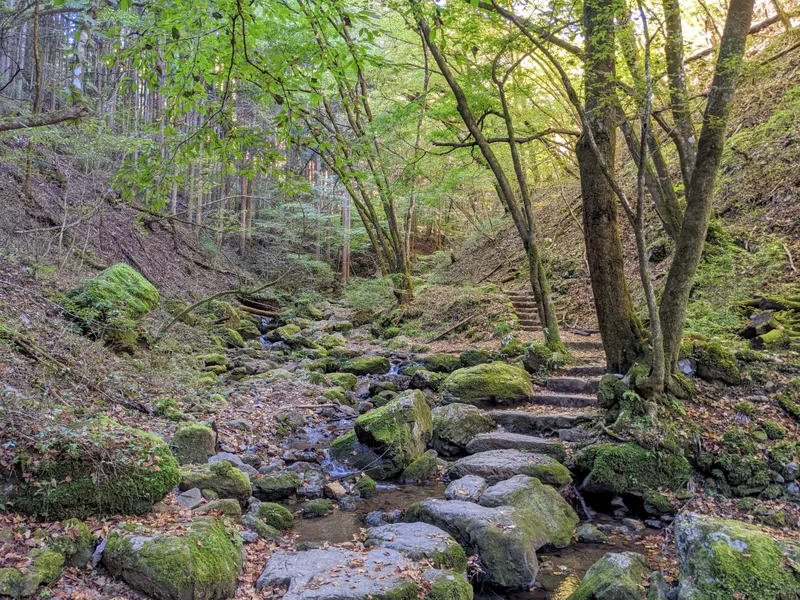
Once I scribbled out some details and popped it in the mailbox, we were off. The first 3 hours of the hike are all in the forest, and so there isn’t too much in the way of scenery. The climb is not too steep, although you will have to hoist yourself up on a fair few tree roots.


After about 3.5km and 400m in elevation gain, you’ll come to a ladder. Once you climb this, you’ll be up above the tree line, and should start to get some good views.

Unfortunately for us, the weather was quite foggy and there wasn’t much to see. The plus side was this did make the hike a little more bearable, as we didn’t have to worry about the sun beating down on us.

This part of the hike was a bit of a struggle for me. The trail is quite steep, and there is quite a quick gain in elevation up to 2600m. Although I don’t usually get any sort of altitude sickness below 3000m, I felt like it was getting to me a bit today. It might also just be the fact that I hadn’t gone hiking in a month since Mt Ena. I definitely realised on this hike that I need to exercise more to increase my fitness, especially considering I have other hikes planned into August as well.


A little before 12pm, we came to the first major landmark on the hike. This is the Mae-Jonen refuge hut, which sits a little below the peak of Mt Mae-Jonen-Dake.

Rather interestingly, the roof was manmade but otherwise the hut was built mostly into the pile of rocks around it, and the walls constructed with rocks as well. I suppose you may as well use the materials available to you rather than lug planks of wood up here.

The inside also had a slightly creepy vibe - I don’t think using red paint on the walls really helps!
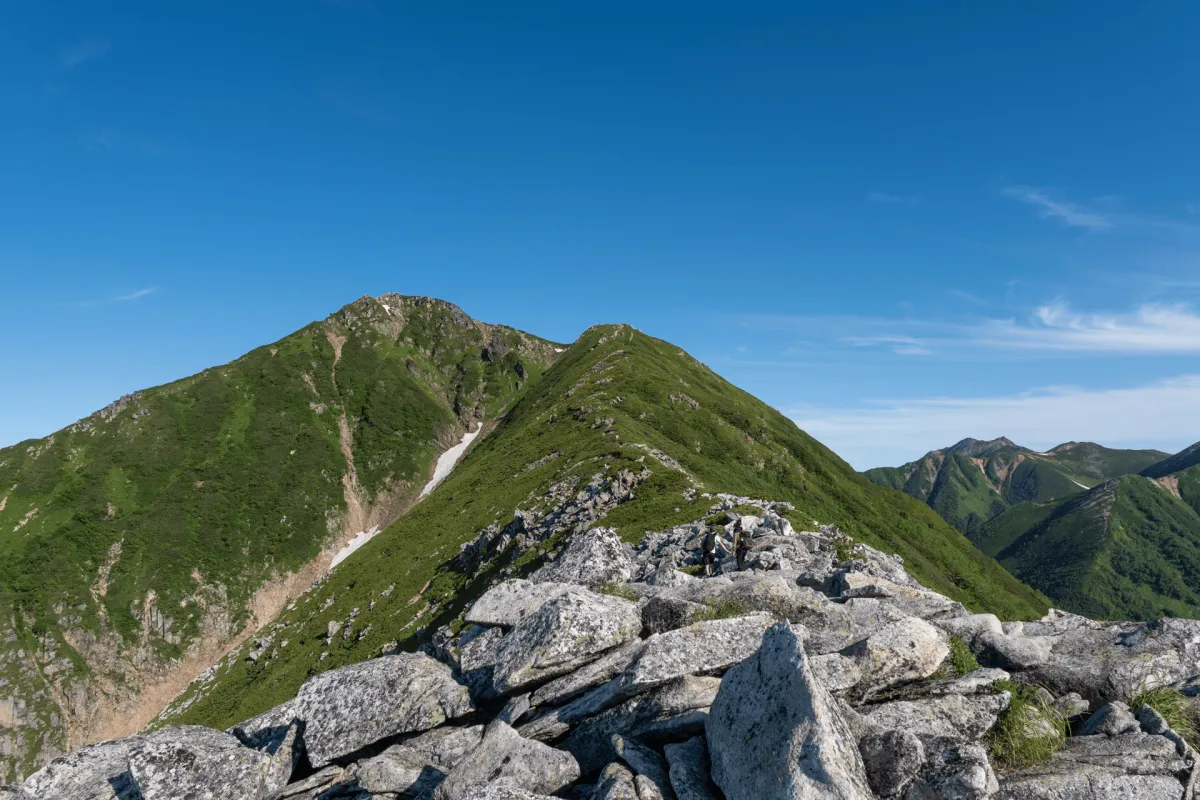
Climbing past the hut, we reached the peak of Mt Mae-jonen-dake. The “mae” means “before” so it’s quite literally named as being the peak before Mt Jonen itself.

From here, the rocks still seem to stretch endlessly before you, although the climb is no longer as steep as it was before, which is a plus. Although this course overall is on the shorter side distance-wise, it is deceptively difficult, as traversing a 1km path of rocks can take an hour.


The fog parted for a brief moment, allowing the summit of Mt Jonen-dake to come into view. You can still see there’s a patch of snow near the summit.

It was nearly 1pm at this point, and so we thought we were on track to arrive at the hut pretty early. However, I had assumed that the Jonen-goya mountain hut was somewhere near the peak - but looking carefully at the map, it was at this point that I realised that it’s actually an hour’s hike away from the peak of Mt Jonen itself. Oops. Luckily it’s all downhill though.
This hike was a bit of a last minute scramble to find somewhere with decent weather conditions, so I hadn’t planned things as thoroughly as I normally would. What worked well in my favour though was that I had given myself 4.5 hours to drive to the trailhead (and we got there in under 4), plus I had planned our itinerary so that we would finish the hike by 2pm, so we had plenty of buffer room even with this slip-up.

As you approach the final climb up to Mt Jonen, there comes an intersection where you can take a left turn to reach the peak, or a right turn to head down to the mountain hut. Since it was fairly foggy, and we would be returning this way the next day, we decided to skip the peak, and return tomorrow in hopes of a better view.
I had seen photos on YAMAP of the Japanese rock ptarmigans (or “raichou”) in this area, so I had some hopes that we would manage to spot one. And as we started heading towards the hut, we immediately ran into a hen that was settling down with her chicks just off of the trail.


So cute!
From there, we had one final hour’s descent down to the Jonen-goya hut.

This was also pretty rocky.

As we descended, we could start to see the hut come into view.

We spotted a couple coming up from the hut. I wasn’t too sure if they were planning on a last-minute ascent of Mt Jonen, but it turns out that they were on the hunt for raichous. We did tell them we spotted one further up the trail, but it would have been a fair hike for them to reach it and then have to climb back down again, so they ended up giving up on the idea.

I was pretty tired at this point, so was super happy when we made it off the trail and to the hut at around 2:30pm.


The sleeping areas for the Jonen-goya hut is split off into many small rooms. I was assigned an 8-person room, which I shared with 2 other girls. This was great, because men tend to be the loudest snorers and usually you can get a better night’s sleep with just girls (ha).

My friend opted to stay in her tent - a much cheaper option. I really didn’t want to lug a tent and sleeping gear up a mountain, especially when factoring in the fatigue of the 4 hours of driving I had to do each way as well, so I went with the hut.
After an early dinner (cup noodles and rice balls) and some time with my Kindle, I was asleep before 8pm. I managed to sleep really well. I only woke up once or twice, and probably got nearly a full 8 hours.
The next day I was up at 4am. One girl was still deep in sleep, while the other was in the process of packing up and heading out as well. With all the fog on the first day, we had been hoping for better luck with the views on day two, and it did not disappoint!

As soon as I headed outside of the hut, I could see the very pointy-looking Mt Yari behind it.
Looking out in the other direction, I could see we were above a sea of clouds. In Japanese there’s a specific word for this - “unkai” (雲海).

And then the sun began to rise! What a great start to the day.

People on the mountains wake up early, so there were plenty of people awake to take in the sunrise.

You can also spot a Docomo tower on the hill, a Japanese telecom provider. I’m with the cheaper subsidiary of Docomo (Ahamo) and so thanks to this tower I got full cell reception on top of the mountain. This wasn’t set up specifically for the hikers, but more for the benefit of the hut itself, since they needed a way to keep contact with the outside world. This felt pretty unusual though, so I don’t think you should let this make you expect there to be cell service at every mountain hut you come across.

And so began our day two hike! First we had to climb back up the rocky hill that we descended yesterday.

We also passed a few people already descending at this time. Some people who are staying at the hut will come from a separate trailhead, so I think they must do a quick climb to the peak (maybe to see the sun rise) then return to the hut and start heading down another trail.
On our climb, I kept my eyes peeled for raichous, and managed to spot another one! I wonder if it was the same hen.


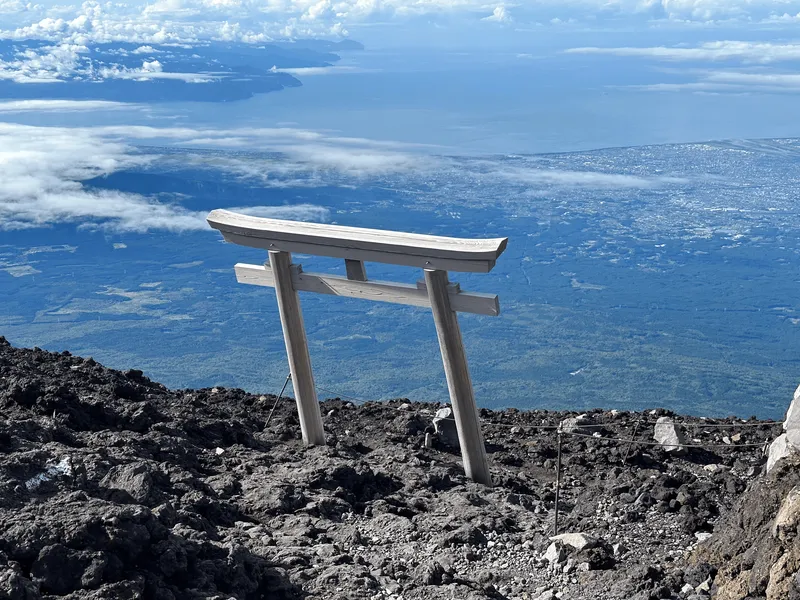
And about 70 minutes of climbing later, we reached the peak of Mt Jonen. This is quite a narrow little peak, with a little shrine and wooden signboard you can pick up to take a photo with.

With clear skies, we could see mountains in every direction. And in the far distance, even the peak of Mt Ontake which I climbed last year.


And of course you can spot Mt Yari from the summit as well.

Looking in the opposite direction of Yari, you can see the ridgeline we would take on our descent back down.

As we began our descent, we started to see people heading up the trail towards us. It was barely 7am, and so this means these people were probably starting at 3am or 4am, and then doing a normally 5-hour course in like 3 or 4 hours. Crazy stuff, but that’s really the only way that you would be able to do it as a day hike. We also passed by trail runners, who mentioned they were planning on doing a longer 15km loop course in 1 day as well.


After picking our way across the rocky trail for about an hour, we made it back to Mt Mae-Jonen-dake where we had a quick break for breakfast.


As we descended, we continued to be passed by many, many people. This was very different to Friday, where the mountain felt very quiet.


I had told myself that the second day of the hike would be easier because it’s mostly descent, but this rocky terrain was pretty difficult and left me feeling pretty exhausted. I don’t think we were much quicker going down than we were going up, actually.

I had a sigh of relief once we made it past the ladder, since I knew the trail should be easier after that. Even so, there was still 2 - 3 hours of hiking left to do, and I was very happy to see the end of it when we finished a bit before 12pm.

There were a number of butterfly varieties fluttering about. It’s said there used to be at least nine varieties living on this mountain. I think I spotted at least three, but this one was the only one to sit still long enough for a photo.


I was dreading the long drive home a bit, but I found having my friend along was a great help and I didn’t feel as tired as I normally would be. We got stuck in a bit of traffic on the road back to Tokyo (typical) but it wasn’t too bad and we made it back in a little over 4 hours.
This hike felt quite hard for me, but determining the difficulty of a hike can be such a subjective thing. I hadn’t hiked in a month, and maybe I didn’t eat as much as I should have, or it was just a bad time of the month for me to be hiking, who knows! But this one has been a good motivator for me to get a bit more exercise and more regular hiking in as I look to tackle other peaks during this summer season.
Hiking course options
All the courses linked below are with the Japanese hiking app YAMAP, and I assume there are similar equivalents available on Alltrails. You can see my activity log on YAMAP here.
Out-and-back courses
Mt Jonen has a number of hiking courses available to you. For the most direct out-and-back courses, you have two:
- Via Ichinosawa trailhead
- Via Mitsumata trailhead (the one we took)
The course from the Ichinosawa trailhead is longer than the one from Mitsumata, but if you look at the course times, it is actually shorter. This is because the Mitsumata course is deceivingly difficult due to the amount of time you have to spend clambering over and navigating large rocks. I would not recommend the Mitsumata course as a beginner day hike. You might have a better go of it from the Ichinosawa course if you start super early.
However in 2025, you cannot take your car to the Ichinosawa trailhead. You have to take a taxi for the last 60 minutes, and then walk an additional 1.5km or 40 minutes to the trailhead, which may make Mitsumata the more feasible option for 2025.
If you are doing the Mitsumata out-and-back with an overnight hut stay, you will need to factor in an additional 2 hours of course time due to the extra distance you have to travel to reach the hut since it’s off the trail. The Ichinosawa trailhead by comparison has you pass by the hut on your way.
Loop course via Mt Chogatake
Another very popular option is the loop course which has you climb up from Mitsumata to Mt Jonen, and then continue along the ridgeline, descending down to Mt Chogatake (蝶槍) where you can spend the night at hut or campsite, before descending back to Mitsumata the next day. In terms of elevation gain and distance, this is not so different than the out-and-back we ended up doing, and the upside is you don’t have to deal with a rocky descent, as the course on the Mt Chogatake side is supposed to be easier.
However the downside is that you have to travel a longer distance on day 1 to reach Mt Chogatake, which would require an earlier start. It would make more sense to do this hike if you slept in your car overnight so you could start around 4 or 5am, or if you were very sure of your stamina in being able to reach Mt Chogaatake in the time available.
Panorama Ginza traverse
Finally, you can also do the popular Panorama Ginza hiking course, which has you traverse about 30km across 3 days in the North Alps, and which passes Mt Jonen and Mt Chogatake on day 3.
In terms of toilet options, there are ones available at the Mitsumata trailhead, and at the Jonen-goya mountain hut (which costs 200 yen).
Public transport access
There is bus access to the Mitsumata trailhead, leaving Hotaka station at 5am and arriving at the trailhead at 5:40am. The return buses are at 13:30 and 15:30. This may make the timings for a day hike a bit too tight, but more reasonable if you are doing this as an overnight. In 2025, the bus is running from the 19th of July on weekends and some weeks in the summer holiday period in August.
Alternatively, there is a taxi service which will cost 6,900 yen to get from Hotaka station to Mitsumata, as well as in the opposite direction. I’m not sure if you need to reserve this in advance, or how good the cell reception is at the trailhead though (I think I managed to squeeze one bar).
Car access details
There are three separate carparks at the Mitsumata trailhead:
- The number 1 carpark at the trailhead itself
- The number 2 carpark a further 800m down the road
- A third overflow carpark nearly 2km down the road
Arriving a bit after 7am on the Friday, we were able to fit into the 1st carpark, which was 90% full at the time. This may have been less crowded than usual though, since the weather was forecasted to have a bit of light rain during the day. Also we hiked on the 11th of July, so I suspect in the August summer holiday season the 1st carpark will fill up sooner.
On the drive home the next day, we could see all 3 carparks were full, plus there were plenty of cars squeezed into spots along the side of the road as well. So evidently a very popular trailhead. It may be well worth arriving the night before to secure your spot.
Staying at the Jonen-goya hut
I had no trouble getting a reservation for Friday night for the Jonen-goya mountain hut, and the hut was less than half-full. Overall my sense is that this hut is not in as high demand as other huts and it looks easier to get a reservation, even on weekends - Mt Jonen can be done as a day hike, so I think that reduces the need for people to stay here by a bit.
They provide pillowcases, and have sleeping bags with a removable cotton inner liner, so it overall felt pretty clean. I brought my own sleeping bag liner just in case, but I felt like I didn’t need it this time. For a one-night stay with no meals, it costs 10,000 yen. You do have to reserve (in Japanese) on the phone, and can only reserve 1 month in advance.
There is also a third-party website you can book through with English support. You do pay a 3,000 yen premium just to use this service, but it also lets you book 3 months ahead. At the hut itself, all of the signage was in both English and Japanese, so I think it would be pretty comfortable as a non-Japanese speaker to stay here.
There’s tap water where you can wash your face and fill up your water bottles for free. If you are a campsite user, it costs 2,000 yen for the night, plus 200 yen per litre of water that you fill up. For campsite users, no reservations are required.
The toilets were on the cleaner side as well! (They smelled a bit, but it’s not the worst).
When to hike Mt Jonen
You should be able to hike Mt Jonen from early July to early October without any snow.
Read more
Support me
📸 Thanks for reading! If you'd like to read more posts like this one, you can follow me on Instagram to stay up to date on my hiking adventures.
If you found this post useful, you can show your support by buying me a coffee - I write this blog for fun, but coffee is always appreciated! ☕
Recent posts
 hikes
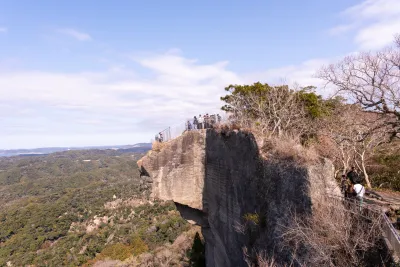
hikesMt Nokogiri: a hike to Chiba's stone quarry
18 Mar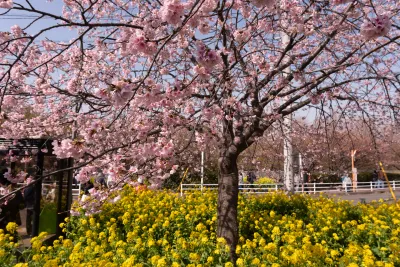 hikes
hikesMt Miura-fuji and the Miura Kaigan Cherry Blossom Festival
9 Mar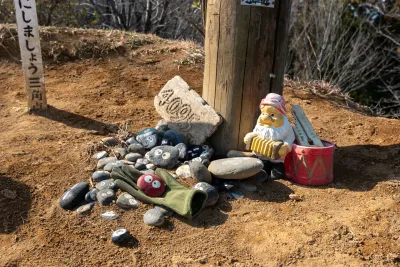 hikes
hikesAkabokko: hiking in Ome
16 Feb
Leave a comment