Hiking log
- Elevation 2034m
- When to climb Late June to late October
- 3h (6km) if you use the ropeway and chairlifts, with longer course variations available
Mountain stats
3 hours from Tokyo. Via a shinkansen to Yonezawa station, and then local bus to the ropeway.
A 3.5 hour drive from Tokyo to the Grandeco carpark (デコ平口駐車場).
Mt Nishi-Azuma (西吾妻山, nishi-azuma-yama) is the highest peak of Mt Azuma (吾妻山), one of Japan’s Hundred Famous Mountains, and is located on the borders of Fukushima and Yamagata prefecture. With ropeway and lift access, it’s a quick 3 hour hike, and is especially beautiful during autumn. Now that I’ve climbed over 60 of the hyakumeizan, Mt Nishi-Azuma is one of the few remaining easy hikes I can do from Tokyo, and so it had been on my radar for a while now. But I decided to save it for October to make the most of the autumn foliage. I hadn’t been doing much hiking lately, so although I was a bit sad that this was probably going to be my only hike for the year where I could properly enjoy the changing leaves, the scenery made the long journey up from Tokyo well worth it!
Note: the kanji for “吾妻” can be read as both “Azuma” and “Agatsuma”. The official Japanese reading for this mountain seems to be “Azuma” but I have seen the mountain referred to as “Mt Nishi-Agatsuma” in some English sites and on Google Maps as well.

After getting the first shinkansen out of Tokyo, and then a transfer to a local bus, I made it to the ropeway station at around 9:20am. From here, it’s one ropeway ride, and then three separate chairlift rides - so factoring this all in, I was able to start hiking at 10:20am. Although the weather was pretty overcast, luckily the visibility was still good.


The area operates as a small ski resort in winter, which explains the chair lift setup.

The gorgeous autumn foliage was already on display as I began the long ride up. You’ll spend 30 - 35 minutes across all three chair lifts, so it’s quite long. Might be worth wearing an extra layer so you don’t get too cold.

If you want to save a bit of money, you could skip the chair lifts, which adds an extra 2+ hours onto your hike one-way.

As I hopped off the final chairlift, the operator was evidently quite excited to see a non-Japanese person and started up a conversation in English. I don’t think he could quite understand my Australian accent though, and first misheard me as saying I came from Austria! Luckily we managed to clear that one up.

The chairlifts stop operation at 3:40pm, and so the start of the trail has a red sign warning you of the penalties if you miss it - 50,000 yen.


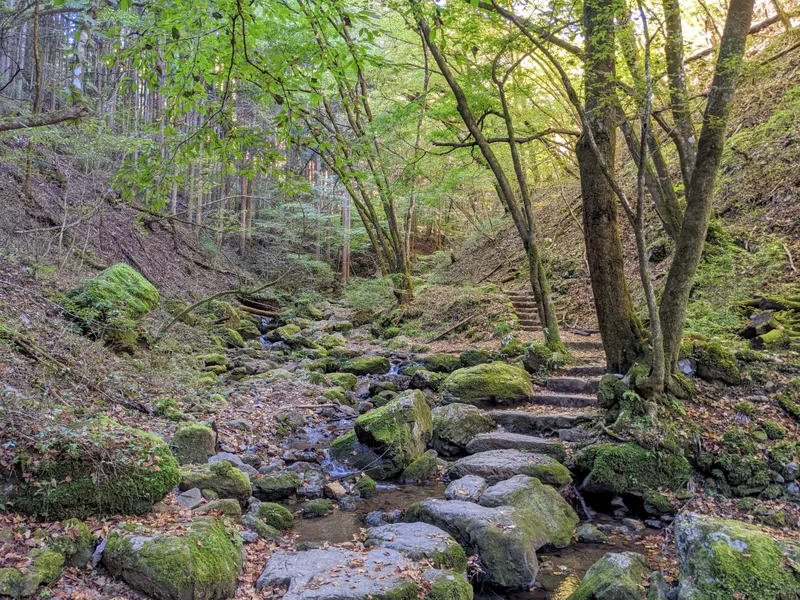
The first part of the hike has you on a path up through the trees, but within 15 minutes, you’ll be out in the open.


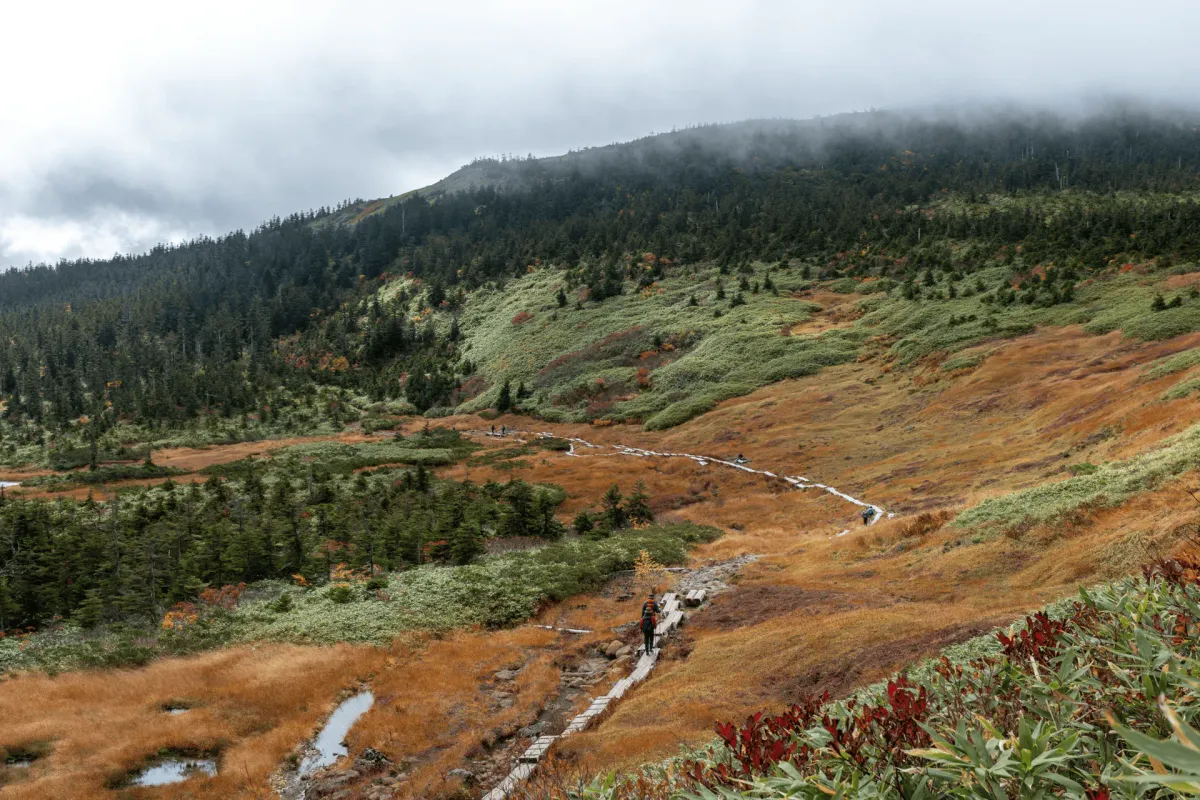
There’s a small section as you descend, and this has the best views of the entire hike!

I’m not too sure when exactly is peak “koyo” season but I feel like I came at a pretty good time.


Once you make it through this stretch, it’s back to a little bit of climbing. Overall this hike only has 400m of elevation gain, so it’s a pretty easy one.

There was one wet patch on the trail, thanks to a spring of water that just seems to be flooding the area.

Although there’s that nice chunk of boardwalk in the middle, there is a small amount of scrambling over rocks as well.


As you gain elevation, you can see out to some distant mountains, one of which is Mt Issaikyo, another popular mountain in the area. I had the opportunity to climb it about 2 years ago - I will have to do a write-up of that one soon.


You’ll come to a small sea of rocks to navigate over. It’s not immediately clear where the trail is exactly, but you should be able to spot a cairn in the distance and you can head towards that.

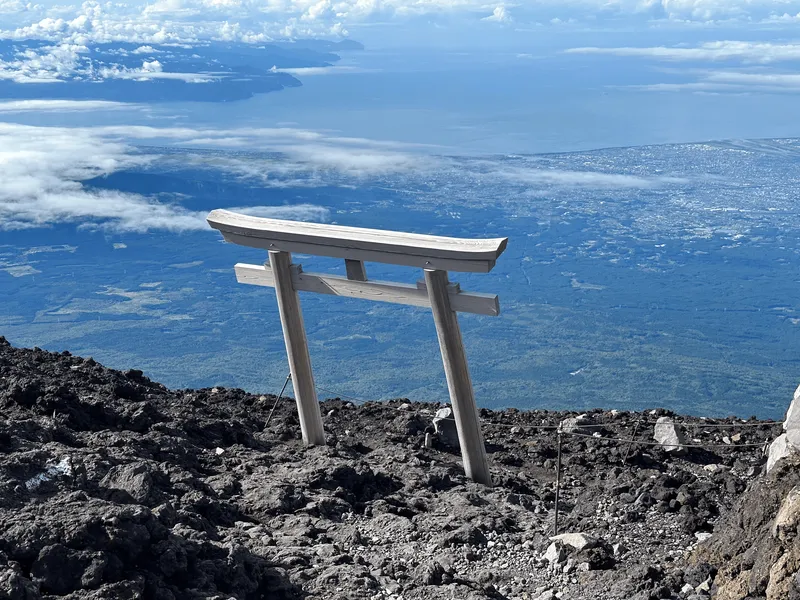
There’s also an interesting-looking shrine, which you’ll pass on the return route.

From here the peak of Mt Nishi-Azuma comes into view. You have a small descent, and then short climb up to it.


The peak itself is a rather unassuming one. Thanks to the lack of elevation gain you’re just heading through the trees and then it’s a sense of “oh, I’m here!”

There was a small crowd of people at the summit, but I managed to grab a photo without anyone in frame. And then it’s onto the descent. The trail is mostly an out-and-back, except for this section near the summit where it’s more of a loop.

As you descend, you can see out to the peak of Mt Nishi-Daiten (西大巓) on the left.

If you have the time, you can make a quick detour out to that peak as well - it adds an extra 90 minutes onto your total hike time.

As you descend, you’ll see Mt Nishi-Azuma’s mountain hut. Just before you reach it, you can take a left turn to head towards Mt Nishi-Daiten.

Although I wasn’t planning on climbing Mt Nishi-Daiten, I decided to head a little ways down the trail to see if I could get a closer view of it.


I would have headed up to Mt Nishi-Daiten if I had a bit more time (and maybe if I was coming by car) but I was a bit worried with the combination of the ropeway and bus timings so I decided to skip it for today, and headed back towards the hut.

The hut is an “emergency” hut so it’s small and not manned. The most notable feature would have to be the ladder leading up to the door on the second floor. Mt Nishi-Azuma is also quite popular as a winter hike (with snowshoes). You can see a photo on YAMAP of how the first floor’s door gets completely blocked off in winter.

From the hut, I headed towards the Shinto shrine I saw from a distance earlier.

I’m curious what it would look like during winter, although I wasn’t able to find any photos of it. I suppose the walls help protect it from the elements a little bit!

After a quick lunch break, it was time to head back over the sea of rocks.


As I passed the prettiest part of the hike, I took another set of photos. Probably the same I took on the hike in, but I couldn’t help myself - it’s such nice scenery.


And then the final descent back to the chairlifts, which was over before I knew it. A very short hike but it comes with some really nice views.


Upon my return to the chairlifts, the chairlift operator greeted me with what sounded like “ouji girl!” It took him a couple more repeats of that phrase as I gave him a really confused-looking face before I grasped he was saying “Aussie girl”. I gave him a thumbs up for effort 😂


After getting off the chairlifts and before transferring onto the ropeway, there is a restaurant (probably more in use during the ski season) that seems to be also operating in the off-season. I had some hopes I could get a bowl of ramen, but I think it must have really limited hours because it was already closed by the time I stopped by at around 2pm.
Hiking course options
| Date climbed | Length | Course time |
|---|---|---|
| 2025-10-10 | 6km | 3h10min (the expected time for an average hiker without breaks) |
Via the Tengendai ropeway
There are multiple course options to climb Mt Nishi-Azuma, in increasing order of difficulty:
- The course I took, which is a 6km, 3h out-and-back from the top of the Tengendai Ropeway + chairlifts to the peak
- A slightly longer 7km, 4.75hr variation that also takes a detour to Mt Nishi-Daiten
- A 6 hour, 12km course if you take the ropeway but skip the chairlifts
In the summer season, the Tengendai ropeway and chairlifts are running between late June and late October. You can see the latest info on their website.
Via the Grandeco ropeway
There is also the Grandeco ropeway operating from the other side of the mountain. In this case, you can do a nearly 5h, 7km course that takes you via Mt Nishi-Daiten and then onto Mt Nishi-Azuma, before you make your return. If you choose to skip the ropeway, you can do a 8.5 hour, 16km course as well.
If you are coming via car, climbing up via this side is probably the best option. There is a carpark about 20min walk from the top of the Grandeco ropeway, and you can see an example of someone hiking that course on YAMAP here.
Public transport access
This hike is doable as a day hike from Tokyo. The itinerary I followed was:
- 6:12am shinkansen from Tokyo station
- 8:20 arrives at Yonezawa station (米沢駅)
- 8:30 bus from Yonezawa station
- 09:20 bus arrives at the ropeway station
The bus departs from the #2 stop outside the station. You’ll be looking to get the one that goes to Shirabu Onsen (白布温泉). The specific stop you get off at is Yumoto-eki-mae (湯元駅前) which is also the last stop on the line. It accepts IC cards, which you tap both when you get on and off.

For the return, I got the 15:20 bus back. There does seem to be buses at 16:20 and 17:20 as well (although they run on slightly different routes I think).
If you wanted to get on the 15:20 bus, you would need to get on the 15:00 ropeway. Then factoring in the chairlift time, you would need to finish your hike by 14:20 at the latest.

Using the Tengendai ropeway and the chairlifts
A couple of notes:
- The ropeway leaves every 20 minutes, so if you are coming via bus, you may be able to make it onto the 09:20 one. Unfortunately I missed this one by a couple of minutes, so I got the next one leaving at 09:40.
- The ropeway and chair lift tickets can be bought as a bundle for 4,500 yen. They can accept IC card or credit card (and I assume cash too) as payment. If you have a Mont Bell membership, if you show that you can get a 200 yen discount.
- The ropeway is just under a 10 minute ride up. From there, it’s a 30 - 35 minute ride on the chairlifts and so I was able to start my hike at around 10:20am.
- The latest chairlift down is at 15:40, so don’t miss it!
- They can stop operating in windy conditions. I did a quick bit of research just in case, and if the chairlifts aren’t operating, the descent time will be 2 hours to the ropeway. If you skip the ropeway, it’s a 2.5 hour climb, so I suppose it will be somewhere in the range of 2 hours if you had to descend without it.
- The last toilet is available at the top of the ropeway station
The shinkansen fare in both directions is around 20,000 yen, and combined with the 4,500 yen ropeway and chairlifts fee it does make for quite a pricey day trip. I’ll admit I did contemplate for quite a while whether it would be worth doing this, or if I should put it off for a time when I could spend a couple of days in the area. I hadn’t been on a hike in nearly a month though and I figured it was worth the splurge to catch the autumn foliage at the perfect time so it was worth it for me!
Car access details
If you are coming by car, you can skip the ropeway and drive to デコ平口駐車場, which is a nearly 4 hour drive from Tokyo. There’s an example of someone hiking from that carpark on YAMAP here.
When to hike Mt Nishi-Azuma
If you are planning to come via the Tengendai ropeway, you will be limited to hiking this mountain between late June and late October. Looking at YAMAP there was still snow near the peak at the end of May 2025, and even in one section at the end of June as well.
Mt Nishi-Azuma vs Mt Azuma
For the hyakumeizan fans out there, the book doesn’t refer to Mt Nishi-Azuma specifically as being a hyakumeizan, but instead Mt Azuma. Now Mt Azuma isn’t a singular peak, but rather a large massif with a bunch of peaks with similar heights. Mr Fukuda actually makes special mention of the nearby Mt Azuma-kofuji has having quite a bit of character (and I agree, it’s a great mountain) as well as Mt Nishi-Azuma for being its highest peak. I suppose if you follow the rule where you have to climb the highest point of a mountain to count towards the hyakumeizan, that would be Mt Nishi-Azuma, and that’s what YAMAP follows as well.
Funnily enough, the Wikipedia page for the hyakumeizan linked out to Mt Azuma-Kofuji as being a hyakumeizan, and that’s what prompted me to climb it two years ago. I have since corrected it - lets see if that edit sticks!
Yonezawa beef
As a final side note, Yonezawa is also famous for its beef.

For the shinkansen ride home, I bought the “beef domannaka” eki-ben which is their most popular bento. It was really tasty!


Read more
Support me
📸 Thanks for reading! If you'd like to read more posts like this one, you can follow me on Instagram to stay up to date on my hiking adventures.
If you found this post useful, you can show your support by buying me a coffee - I write this blog for fun, but coffee is always appreciated! ☕
Recent posts
 hikes
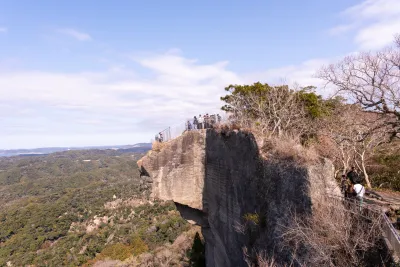
hikesMt Nokogiri: a hike to Chiba's stone quarry
18 Mar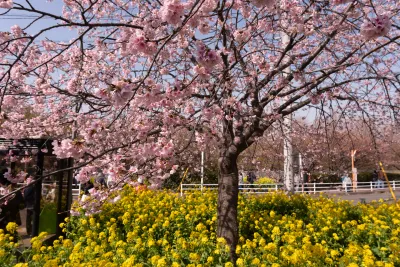 hikes
hikesMt Miura-fuji and the Miura Kaigan Cherry Blossom Festival
9 Mar hikes
hikesAkabokko: hiking in Ome
16 Feb
Leave a comment